PROGRESS POSTINGS! (shown in approximate order of progression )
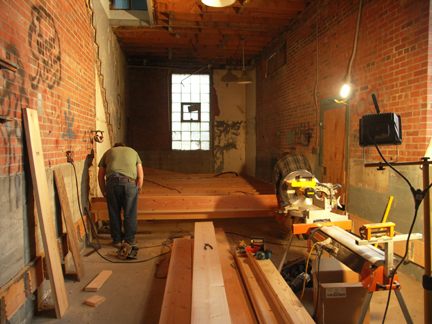
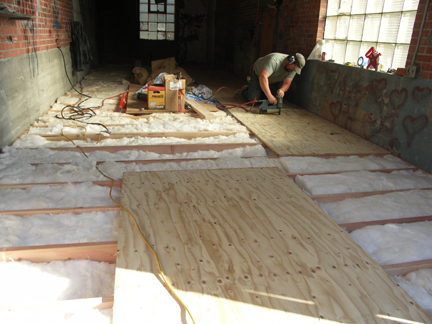
The two-story section was cleaned and gutted (see photos above). This photo shows the raised floor being installed on the ground level of this section of the building. The window in the far wall is located in what eventually becomes the bathroom.
This photo shows the raised floor getting the plywood subfloor installed over the joists. Fiberglass insulation was placed inbetween the joists for firebreak and insulation.
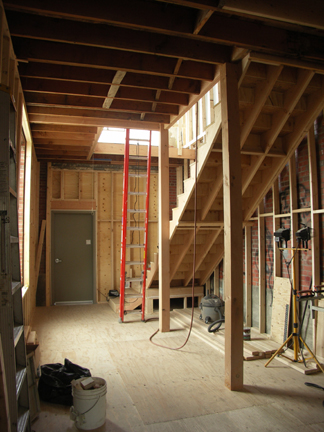
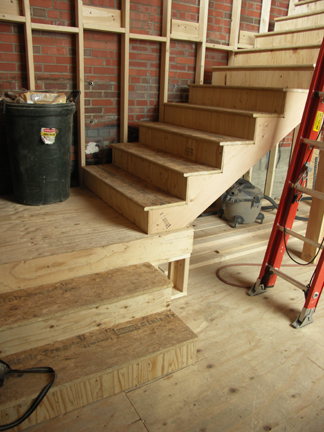
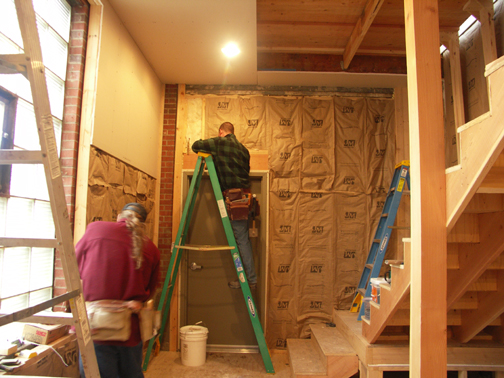
This photo shows the raised floor, new staircase and endwall replacement with new firedoor.
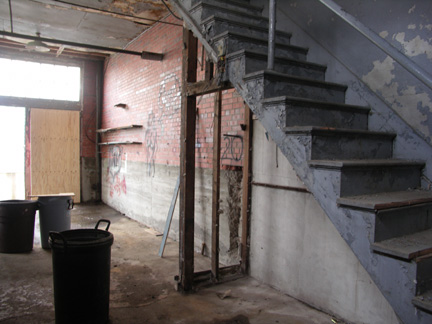
This photo shows the staircase platform. This new staircase replaces the narrow steep origninal set that came up from the opposite end of the groundfloor room (see "before" photos)
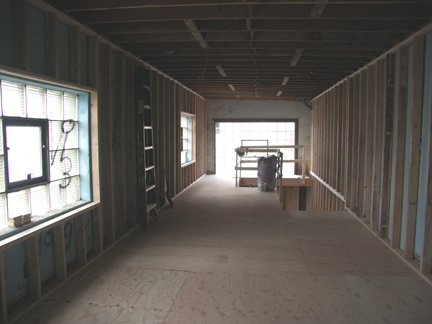
LEFT: This photo shows the second floor with the new stud walls installed and plywood subfloor. The opening in the far end is where the staircase comes up and creates a little balcony looking down to the first floor. Nice big window on north wall will cast great natural lighting over staircase. Graffiti on the window at left is typical of the kinds of vandal "art" we are covering with new walls or removing.
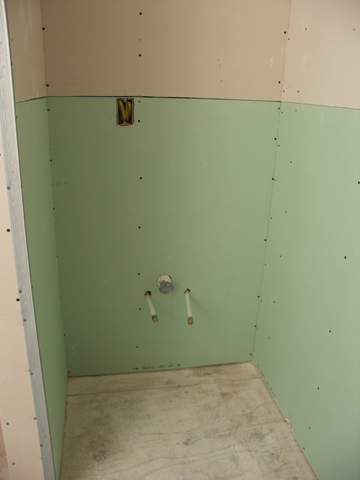
The new bathroom will have toilet, sink and -- a shower!
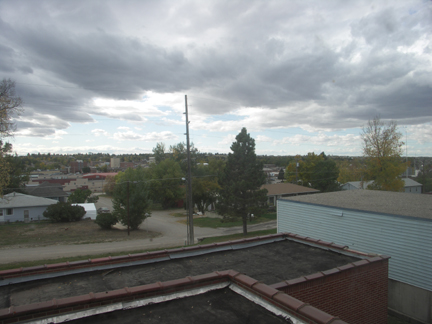
LEFT: This photo shows a view from one of the secondfloor windows. (looking west, northwest - mountains in the far distance are the Big Belts)
ABOVE: Toilet is located to meet space requirements for handicap access.
ABOVE: Shower is a single piece molded fiberglass unit.
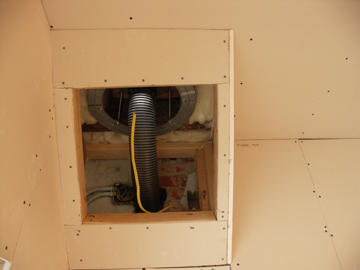
BELOW: The roof drains are boxed in with sheetrock and will get a custom access door installed.
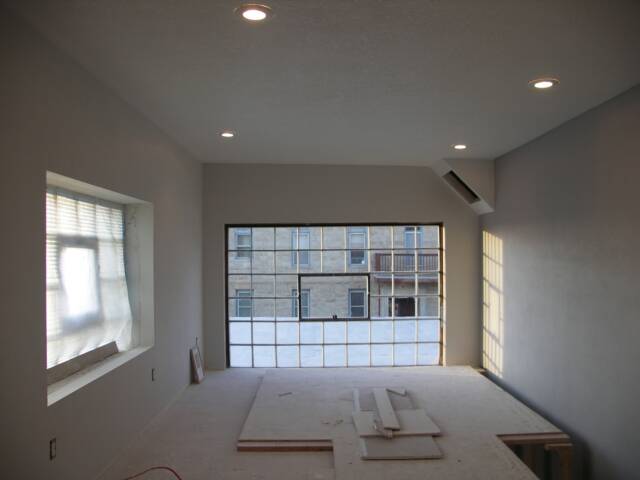
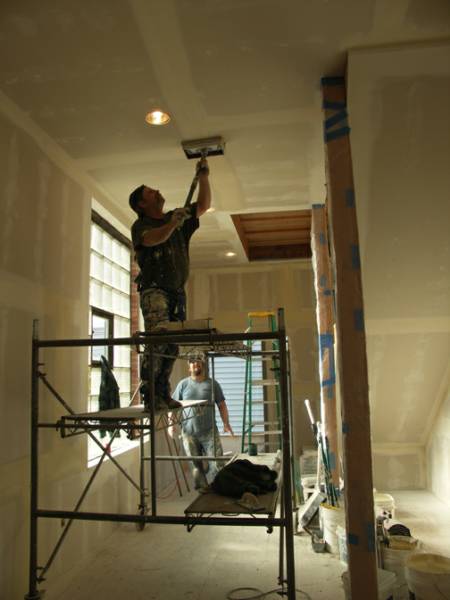
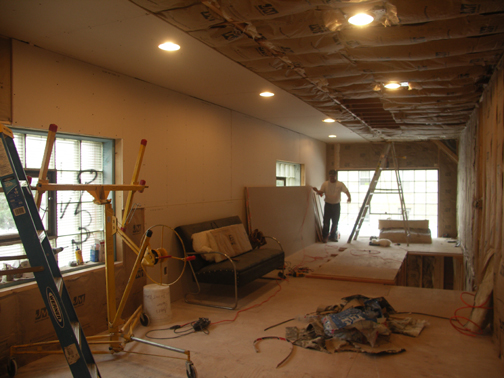
ABOVE: Sheetrock being installed on the second floor. As you can see, the recessed ceiling lights are installed and the fiberglass insulation is in the walls and ceiling.
LEFT: Installing sheetrock on the first floor. Here you can see that the opening over the stairwell appears to be closed off----it is but only temporarily with a moveable cover to make working on the second floor walls and ceiling easier and safer.
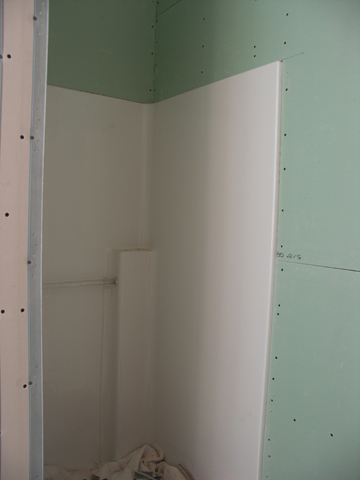
BELOW (LEFT AND RIGHT): The green sheetrock installed around the area of the bathroom sink location and the shower stall is waterrock and is required where there is a possiblility of the wall becoming wet via water spillage or splash.
LEFT: The sheetrock is being perfa-taped
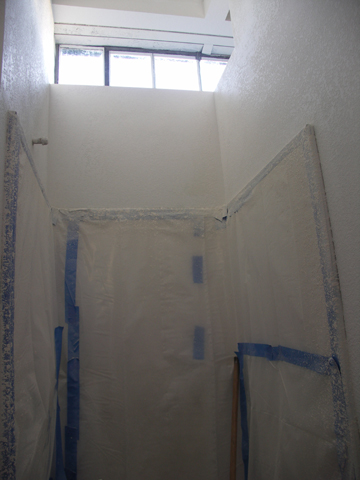
ABOVE RIGHT: Shower stall all taped off while walls are being textured after all the joints and screws are perfa-taped or "mudded in" and then sanded lightly and then light texture (called orange peel) is applied to the walls. That is followed by primer and then the final coats of paint.
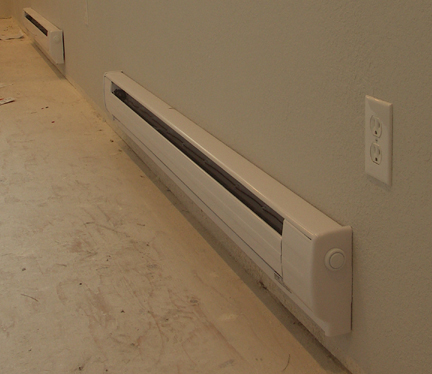
LEFT: The walls and ceiling on the second floor are all painted. Wires are being pulled (see orange pair extending from one of the walls near the floor) for installing the electric baseboad heat units.
LEFT: View of the opposite (north) end of the second floor. The late afternoon sun is shining in.
LEFT: Second floor is all painted too. The bright sun in the far end is coming through a previously existing small window near the ceiling. It ended up straddling the bathroom (way above the shower stall) and the main room.
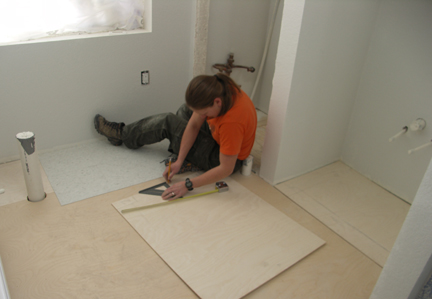
RIGHT: Cutting floor tiles to size for installation in the bathroom.
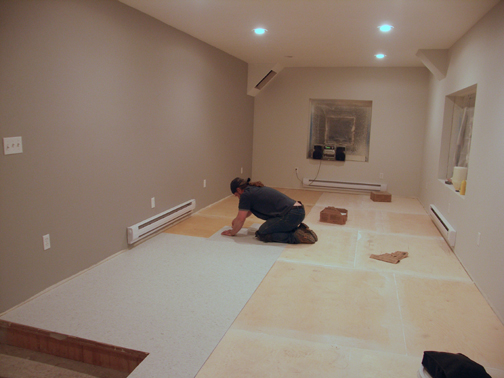
LEFT: Cutting and installing floor tiles to size in the main room of the first floor.
RIGHT: Cutting floor tiles to size and installing them on the second floor.
In this photo one can see that the long wall is a darker gray color as an accent wall to play off the other walls which are a much lighter version of the darker gray. Both grays are warm grays that pick up the sunlight in pleasant ways.
LEFT: The electric baseboard heaters are set high enough from the floor to allow a broom or mop to clean beneath them.
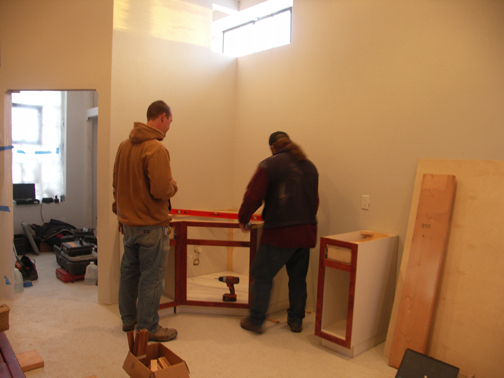
RIGHT: Installing the custom made corner unit for the utility sink in the main room of the first floor. The gap between the corner unit and the narrow unit is sized for a small refrigerator. A counter top will span that space above the refrigerator.
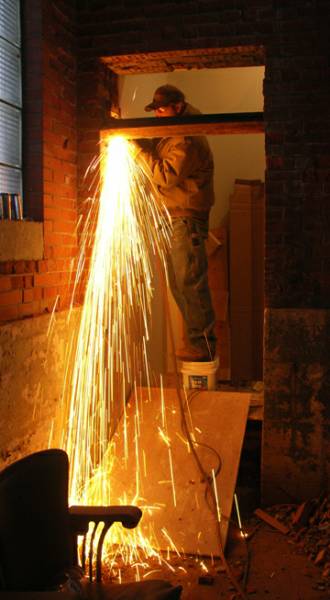
BELOW: Looking in to the two-story section from the great room (you can see that the the brick wall is three rows thick between the great room and the two-story section.) This access doorway needed to be "taller" because we raised the floor of the two-story section's first floor. Yes, these photos are in sequence. Yes, the walls were finished , even painted when this little "detail" got done. What is being removed with the cutting torch is the steel header that spanned the original height of the doorway. A new steel header was inserted at the new height.
MORE PHOTOS WILL BE POSTED TO SHOW THE CUSTOM BASEBOARD AND WINDOW TRIM AND DOORS.
Thank you for visiting this page.
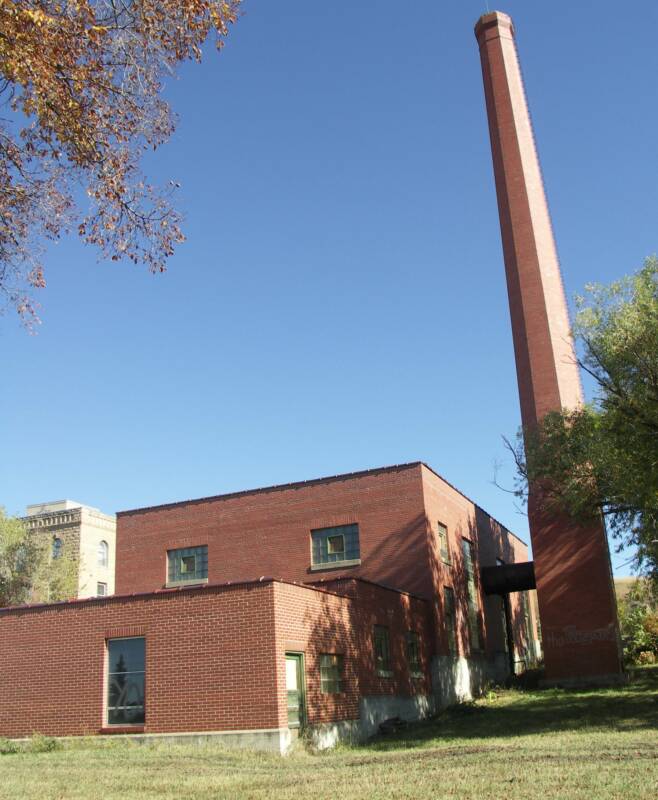
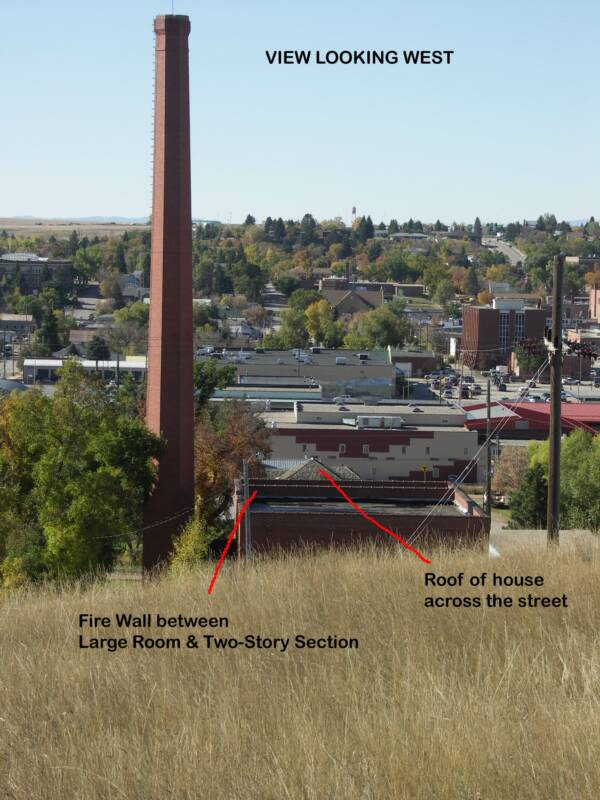
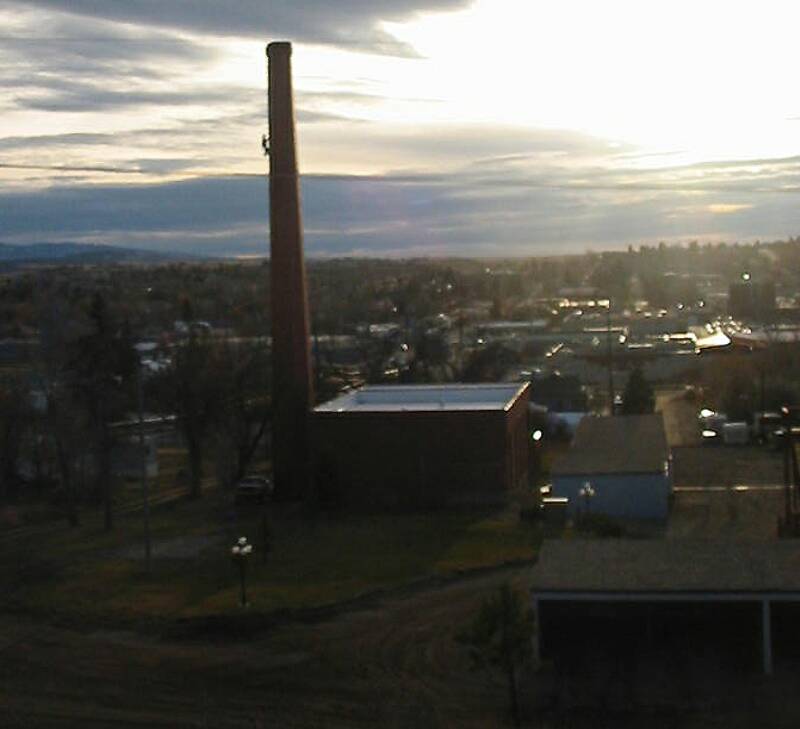
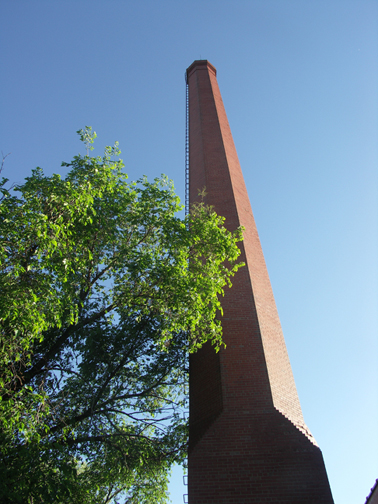
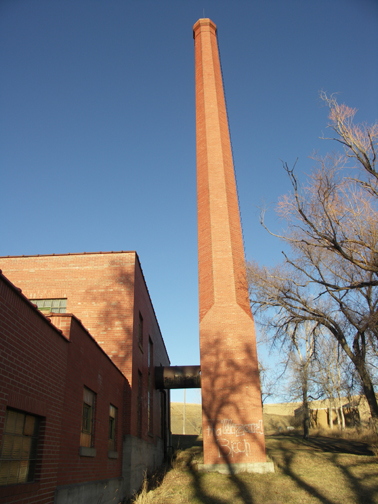
Da Stack! on a clear day!
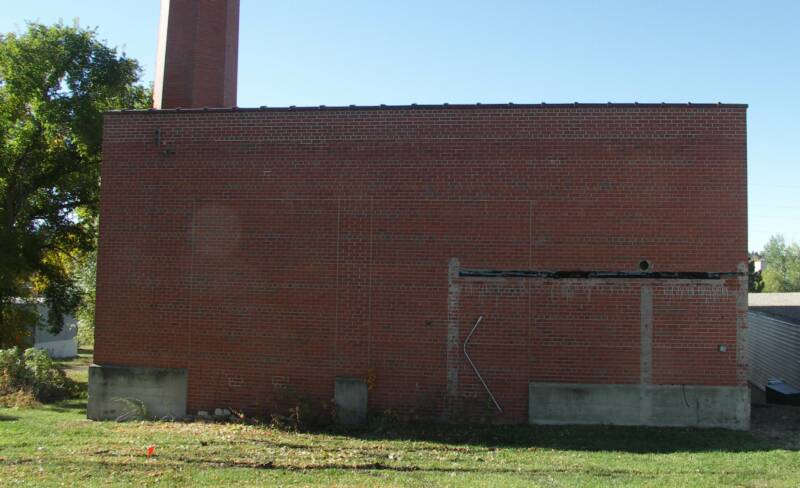
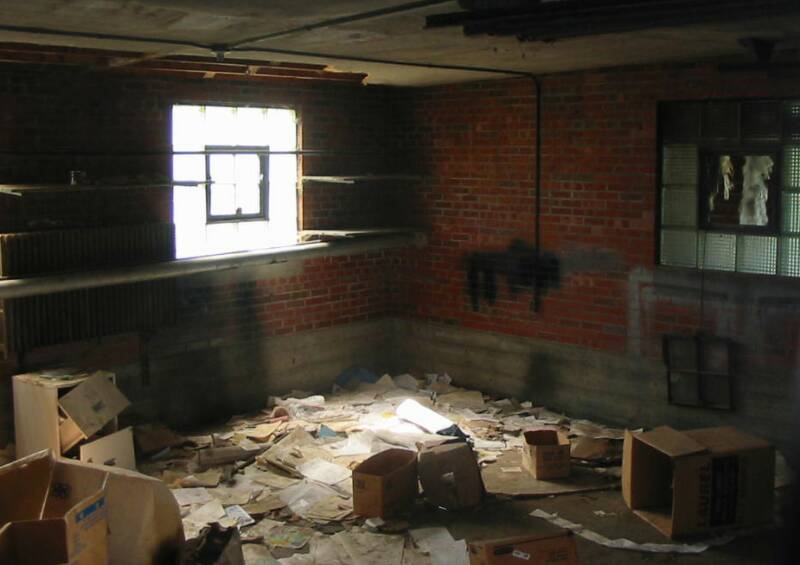
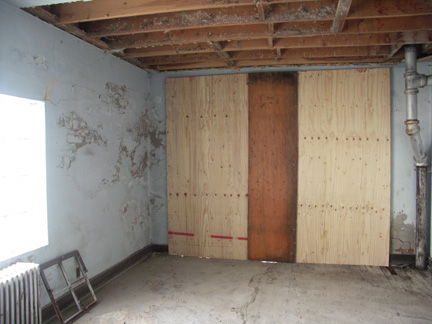
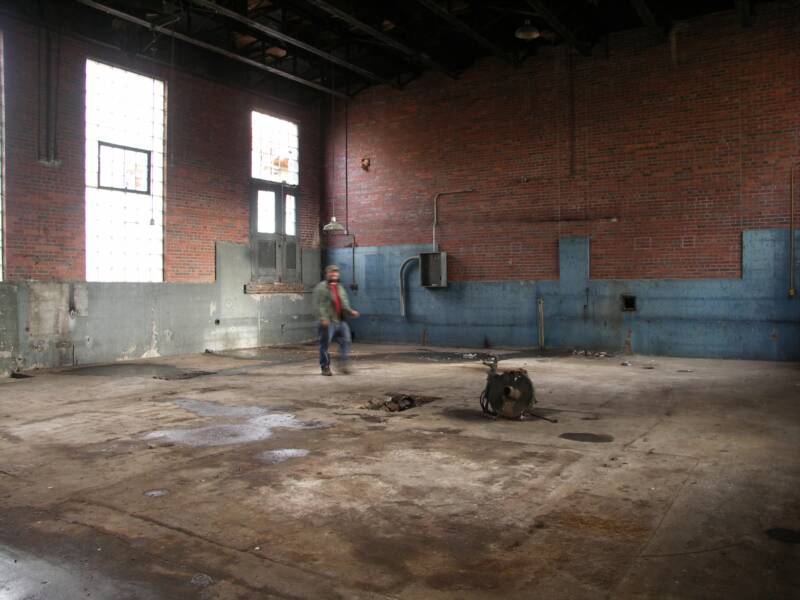
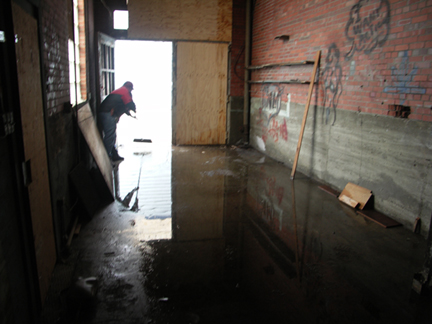
The two-story section was to undergo the most dramatic "make-over" In the photo at the right, In the photo at the left, Nathan is pushing out water. This is the last time this section will suffer the indigity of leaks. Once all was dried for the final time, the fun part of the project began. Photos below document much of the transformation of this section of the building.
(And yes, the funky graffiti "lady" on the wall was left and walled over eventually. We think she probably was painted there at least more than a few years ago, so....does that make her an antique? Or maybe just a relic?